I keep seeing the same complaint on helpdesks and forums: “Remote Desktop is too small? What is the reason” The short answer: RDP sets the session resolution when you connect. If that resolution is larger than the window you give it, or you resize afterward, the UI shrinks or scroll bars appear. The reliable cure is a two-parter: start at a readable resolution, then fit the session to your window. That’s what power users and sysadmins recommend in accepted answers and walk-throughs, and it still holds in 2025.
Classic Remote Desktop Connection (mstsc.exe) can’t change the session resolution mid-session. The trick is to set a sensible size before you connect and, optionally, turn on Smart Sizing so the view always fits your window. Or use an alternative remote desktop software that updates the session resolution as you resize the window.
Method 1: Use the Display slider
-
Open Remote Desktop Connection (search “Remote Desktop Connection” from Start).
-
Click Show Options.
-
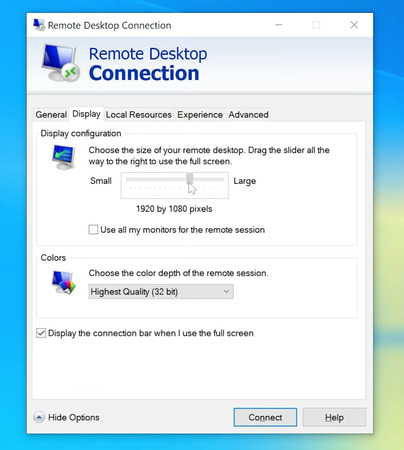
Display tab → Display configuration: move the slider one or two notches left of Full screen until the preview looks comfortable.
• On a 1080p display, try 1600×900 or 1680×1050 as readable starting points.
-
Click Connect and try it out.
Why this works: you’re asking RDP to negotiate a readable session size up front, so the window opens at a sane scale, no microscopic text, no scroll bars.
Method 2: Set exact pixels in a .RDP file (plus Smart Sizing)
If you want a precise fit (or you often resize the window), save a connection file and add two size lines plus Smart Sizing.
-
Open Remote Desktop Connection (mstsc).
-
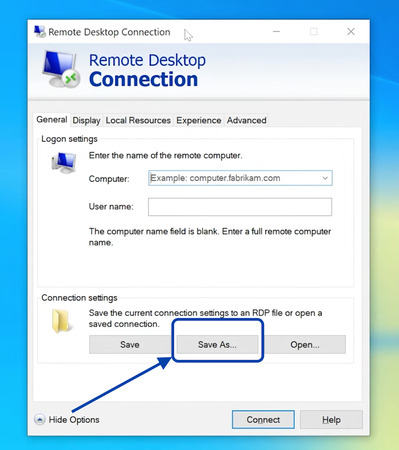
Show Options → General → Save As…, and save a .rdp file anywhere.
-
Right-click the saved .rdp → Open with → Notepad.
-
Add or edit these lines (tweak the numbers to suit your workspace), then save the file:
desktopwidth:i:1920desktopheight:i:1080
smart sizing:i:1
-
Double-click the .rdp to connect.
Method 3: Alternative Remote Desktop Software
If you want true on-the-fly resolution changes, use a remote support software that supports Dynamic Resolution Update.
1. Microsoft’s Windows App (Windows 10/11)
The new Windows App replaces the old Store “Remote Desktop” app and adds dynamic display resizing, multi-monitor support, and modern UX. Install it, sign in with your work or school account, add your workspace, and open a desktop. When you resize the window, the session resolution updates automatically (no scroll bars, no tiny UI).
2. HelpWire (Windows/macOS/Linux)
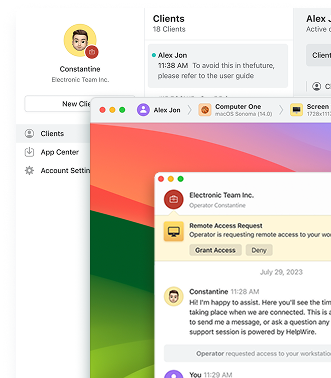
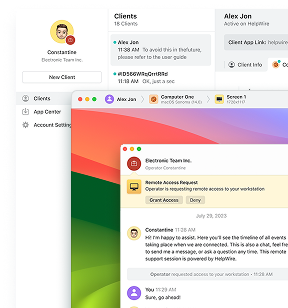
HelpWire is a free remote-support tool with adjustable screen size and fit-to-window modes, so the view adapts to your window without manual reconfiguration. Install the operator app, connect to the client, and choose a fit option (width/height/optimal) or let it scale as you resize, handy when you’re juggling different displays.
